It’s time again, the oil change for your young or classic car is due. With the right manual for the vehicle and our tips and tricks, almost any of you can become a professional and do the job yourself.
But first let’s clarify why the oil change is necessary at all. The main task of the oil is to prevent metal-to-metal contact through a lubricating film. All engine plain bearings, such as connecting rod bearings or camshaft bearings, must be lubricated to prevent material corrosion. In addition, oil pressure is required in some engines, for example, for piston crown cooling, camshaft adjustment or tensioning the timing chain. To ensure constant lubrication and all other functions, the oil needs exactly the viscosity designed by the manufacturer. However, this is exactly what the oil loses over time due to impurities such as combustion residues, gasoline and water, or natural oxidation. Especially for older engines with high mileage, it is therefore recommended to renew the oil every 5000 kilometers or once a year. At least every 2nd interval, the oil filter should also be changed. This should catch all larger dirt particles and metal chips.
Our tips for draining the oil
Since the procedure for changing the oil can vary greatly from vehicle to vehicle, it is advisable to obtain the appropriate manual or repair instructions. There you will find all the information about the mounting points for the jack, the tightening torques of the screws and filling quantities.
Before starting, you should warm up the engine a bit, this makes the oil thinner and the draining much easier. When jacking up, make sure that the vehicle does not tilt in such a way that the oil flows away from the drain plug and you get the largest possible amount of used oil out of the engine. If the oil filter is stuck and you don’t have a suitable tool, you can also just knock a screwdriver through it and use the lever to turn it.
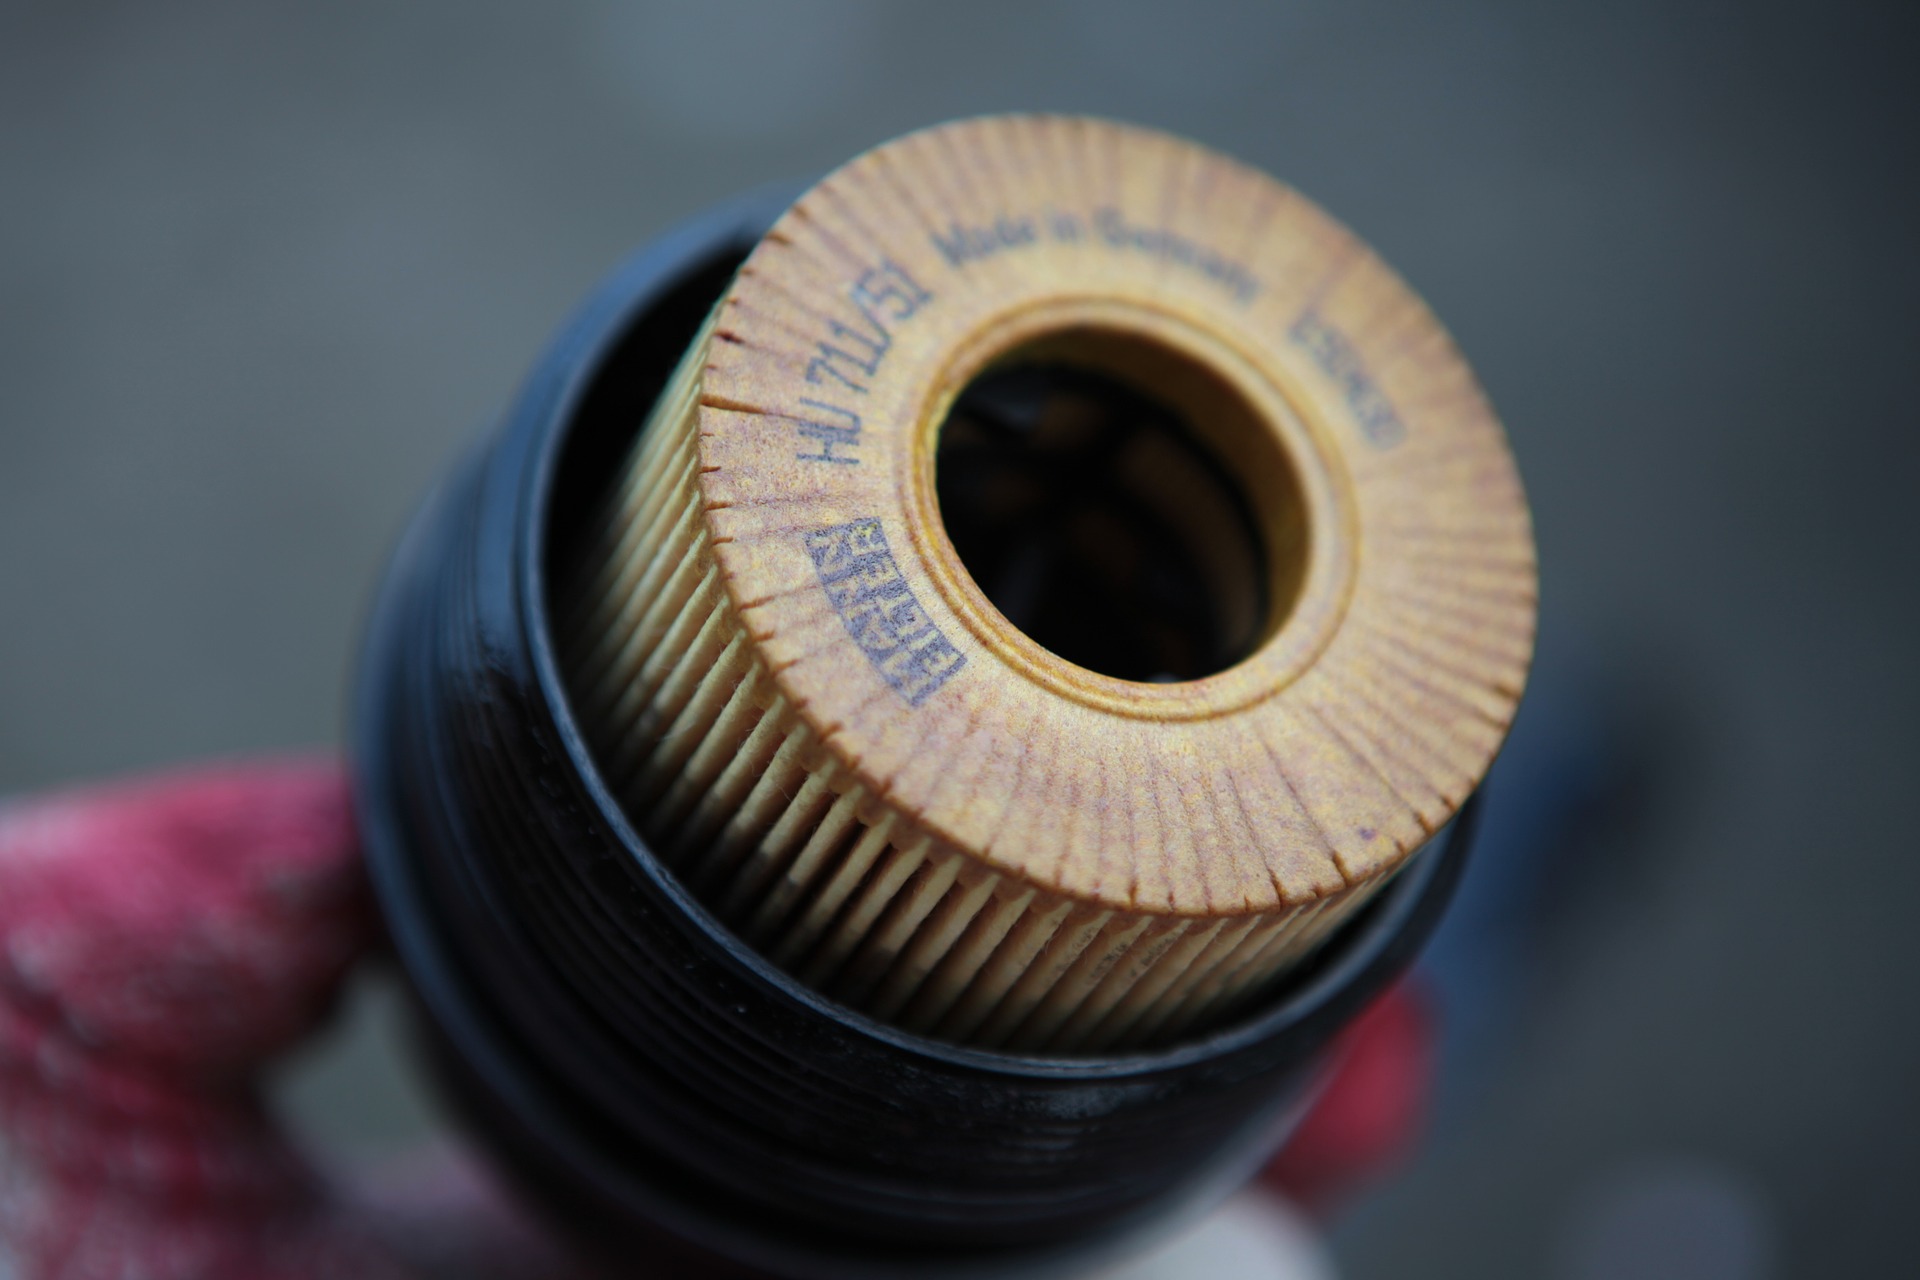
Oil analysis
If the oil is drained, the smell and color of the oil can give you some clues about the condition of the engine. If the oil is very black and smells of exhaust fumes, this can indicate poorly closing valves, or worn piston rings and valve stem seals. If the oil smells of gasoline, check if the injectors drip when stationary or if the float chamber of the carburetor has a defect. If the oil is unusually light-brown or forms white streaks, water has mixed with the oil (emulsion). This is usually caused by frequent short-distance driving or, in the worst case, a defective cylinder head gasket. An insight into the condition of the bearings and gears inside the engine can be gained by cutting open the oil filter. If there is a lot of metallic shavings in the filter mesh, there is an urgent need for action to prevent incipient engine damage. If you don’t want to cut open the oil filter every time, you can switch to an oil drain plug with magnets from the accessories trade. The chips will then also collect on this.
For those who want an even more precise analysis, it is worth sending a swab of the oil to a laboratory. There are numerous offers for this online.
When the new oil filter is screwed on, always wet the rubber sealing ring with a little oil beforehand so that it does not break when it is screwed on.
Refill, but with which oil?
Once everything is tight again, it’s time for refilling and the question of the right oil. While a distinction was made between summer and winter oils in the days when our vintage engines were developed, mineral multigrade oils with additives or fully synthetic oils are the standard today. As a rule, there is nothing to be said against the synthetically produced oils, because they keep the lubricating film much more stable at both low and high engine temperatures. In addition, they have a cleaning function that prevents the deposition of oil carbon, for example. Be careful with very old, unrevised engines without oil filters! Here, clogged oil channels can occur when the additives in the oil dissolve the old deposits. It is important to adhere to the viscosity specified by the manufacturer, because bearing tolerances, oil pump and other parts have been precisely adjusted to this value. Not recommended are the thinner low-viscosity oils developed to save fuel for modern engines.
When filling up, you can either follow the instructions in the manual or simply pour in the same amount as was drained. Be careful when closing the oil filler cap, if it is not properly seated, the engine can draw false air and subsequently run out of round.
After the start and the first kilometers, check the oil level and the tightness of all screws.
With these tips and tricks, the Oldtimerparts team wishes you a safe journey!
If you have any questions about spare parts reconstruction and 3D printing, as well as digitization of spare parts, please send us an online inquiry via our spare parts inquiry.
3D-Druck3D-Drucker3D-Modell3D-Scanadditive FertigungAddtitve FertigungBMW E24BMW E30BulliCADCafe RacerCarbon 3D DruckCoronaCovid-19DachlukeE-AntriebElektroErsatzeileErsatzteilErsatzteileErsatzteile OldtimerErsatzteilpreiseFensterkurbelGleitschleifenH-KennzeichenHondaKaufberatungKunstoffteileLamborghiniMaskeMegasquirtModernMotorradNabendeckelOldimeroldtimerOldtimer ErsatzteileOldtimerersatzteilePreise 3D DruckrekonstruktionRekonstrultionRekontruktionReproduktionRestaurationRestomodSaisonkennzeichenSaisonzulassungSchwachstellenSLMSTL STEPTechnische ZeichnungTippsTuningVakuumgussVW KäferVW T3VW T3 CamperYamahaDichtungGummiMJF